
MCP客户端HyperChat打包及镜像构建
HyperChat是一个开源的Chat客户端,支持MCP,可以使用各家LLM的API,实现最好的Chat体验。以及实现生产力工具。支持OpenAI风格的LLM,包括 OpenAI, Claude, Qwen, DeepSeek, Gemini等模型。
1.拉取源码本地构建
从作者github仓库拉取源码:
git clone https://github.com/BigSweetPotatoStudio/HyperChat -b v1.8.4
这里我指定的分支为最新的v1.8.4版本。
源码目录结构如下:
HyperChat/
├── ChangeLog.md
├── ChangeLog.zh.md
├── CLAUDE.md
├── common
├── dependencies
├── docker
├── Dockerfile
├── docs
├── electron
├── hyperchat-vscode-extension
├── images
├── LICENSE
├── node_modules
├── package.json
├── package-lock.json
├── README.md
├── README.zh.md
├── task.mts
├── translate.mts
├── tsconfig.json
└── web
(构建过程中会用到node,本人使用的node为v20.19.3、npm版本为 10.8.2)
分别进入 electron 目录和 ` web` 目录安装依赖:
cd electron && npm install
cd ../
cd web && npm install
然后返回 HyperChat 工作目录下安装依赖:
npm install
进入开发模式:
npm run dev
等待片刻后桌面就会出现 Electron 客户端,可以通过electron客户端设置中的web url打开web页面。
2. 打包可执行文件
首先,需要打包web源码:
cd web && npm run build
然后进入electron目录打包:
cd electron && npm run build
node会根据当前平台操作系统和架构打包出可执行文件和安装包,比较奇怪的是在Linux环境下打包,会打出所有架构的安装包(包括x86_64、arm64以及macos)
打包完成后,可以在 electron/dist目录下查看安装包可执行文件:

以 debian 安装包为例安装HyperChat
dpkg -i HyperChat-1.8.4-alpha.2-linux-amd64.deb
会将HyperChat默认安装到 /opt 目录下,运行hyper-chat可执行文件后即可启动客户端:
/opt/HyperChat/hyper-chat
3. 构建镜像
这里只介绍web端(不使用electron)镜像的构建方法,如果对另一种方式感兴趣可以自行探索。
构建镜像之前,需要在 electron 目录下打包 node:
cd electron
npm run build:node
然后会在 electron/js 目录下生成 main_no_electron.js 等js文件,启动前端界面时会用到。
作者给出的 Dockerfile 位于 docker/no_electron 目录下,内容如下:
FROM ubuntu:22.04

# Update package lists
RUN apt-get update

# Install curl and other dependencies
RUN apt-get install -y curl

# Add NodeSource repository for Node.js LTS
RUN curl -fsSL https://deb.nodesource.com/setup_20.x | bash -
# Install Node.js and npm
RUN apt-get install -y nodejs

# Install Python and pip
RUN apt-get install -y python3 python3-pip
# With pip.
RUN pip install uv

COPY ../../electron/ /root/hyperchat

ENV NODE_ENV=production

CMD ["node", "/root/hyperchat/js/main_no_electron.js"]
仔细观察这个Dockerfile可以发现,在 COPY 命令时有问题。因为docker构建镜像过程中,是不允许从Dockerfile所在目录之外复制文件的,所以可以在 HyperChat目录下新建一个Dockerfile,然后修改为以下内容:
FROM ubuntu:22.04

# Update package lists
RUN apt-get update

# Install curl and other dependencies
RUN apt-get install -y curl

# Add NodeSource repository for Node.js LTS
RUN curl -fsSL https://deb.nodesource.com/setup_20.x | bash -
# Install Node.js and npm
RUN apt-get install -y nodejs

# Install Python and pip
RUN apt-get install -y python3 python3-pip
# With pip.
RUN pip install uv

COPY ./electron/ /root/hyperchat

ENV NODE_ENV=production

CMD ["node", "/root/hyperchat/js/main_no_electron.js"]
然后执行以下命令构建镜像:
docker build -t hyperchat-web:latest .
打包完成后,可以使用作者给出的 docker-compose.yml 启动容器:
version: '3'

services:
  hyperchat:
    image: hyperchat-web:latest
    ports:
      - "16100:16100"
    volumes:
      - "./HyperChat:/root/Documents/HyperChat"
    restart: unless-stopped
由于启动容器较为简单,可以使用docker直接启动:
docker run -it -d \
--name hyperchat \
-p 16100:16100 \
-v ./HyperChat:/root/Documents/HyperChat \
hyperchat-web:latest
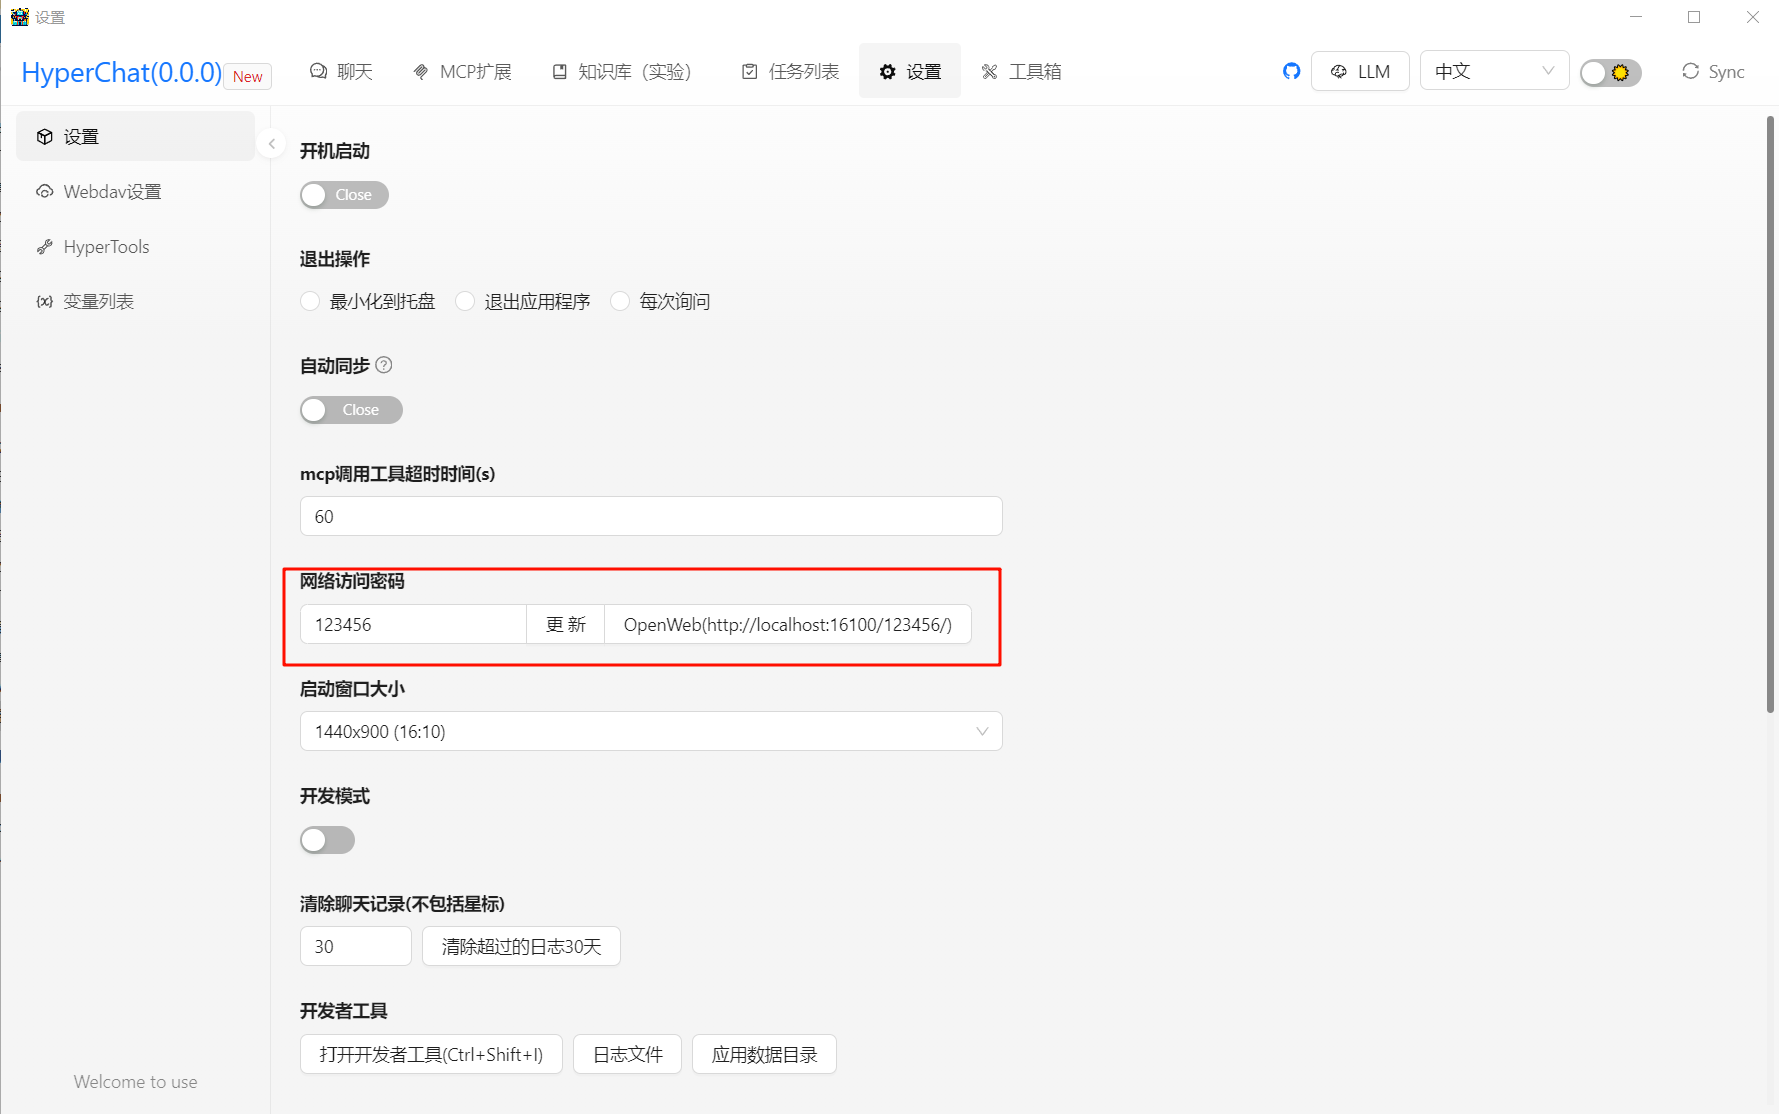
启动容器后,即可通过 http://<ip>:16100/123456 访问HyperChat页面了。
4. 替换项目打包内容
这样每次在修改前端重新打包为生产模式后,需要重新构建docker镜像,为简化开发过程,将宿主机文件挂载到容器中的启动文件夹/root/hyperchat,具体步骤如下:
首先启动容器:
docker run -itd --name hyperchat hyperchat-web:latest
然后在本地创建文件夹,将容器内的项目打包内容复制到宿主机:
mkdir /data/web/hyperchat
docker cp hyperchat:/root/hyperchat/* /data/web/hyperchat/*
然后停止并删除容器后正式启动容器:
docker stop hyperchat && docker rm hyperchat
docker run -itd --name hyperchat \
-p 16100:16100 \
-v /data/web/hyperchat:/root/hyperchat \
-v /data/web/Documents:/root/Documents \
hyperchat-web:latest
后续可以将打包完成后的文件复制到宿主机/data/web/hyperchat/目录下,完成前端的替换。